CAPABILITY - PAINT & VARNISH
Finishing
& Spray Painting
PREPARATION IS THE MAJORITY OF THE WORK, AND THE REASON A FINISH LASTS


A finish is ninety percent preparation. What you see across the topsides on a still morning was decided weeks earlier, with a longboard.
The principle
Paint hides nothing. It magnifies. Every hollow left in the fairing, every edge cut too hard and every patch of doubtful adhesion will be plainly visible the first time the boat sits in flat light.
So the bulk of our finishing hours go into the stages nobody photographs: testing the existing coatings, stripping back to sound material, letting timber settle, fairing by hand and cutting back between build coats.
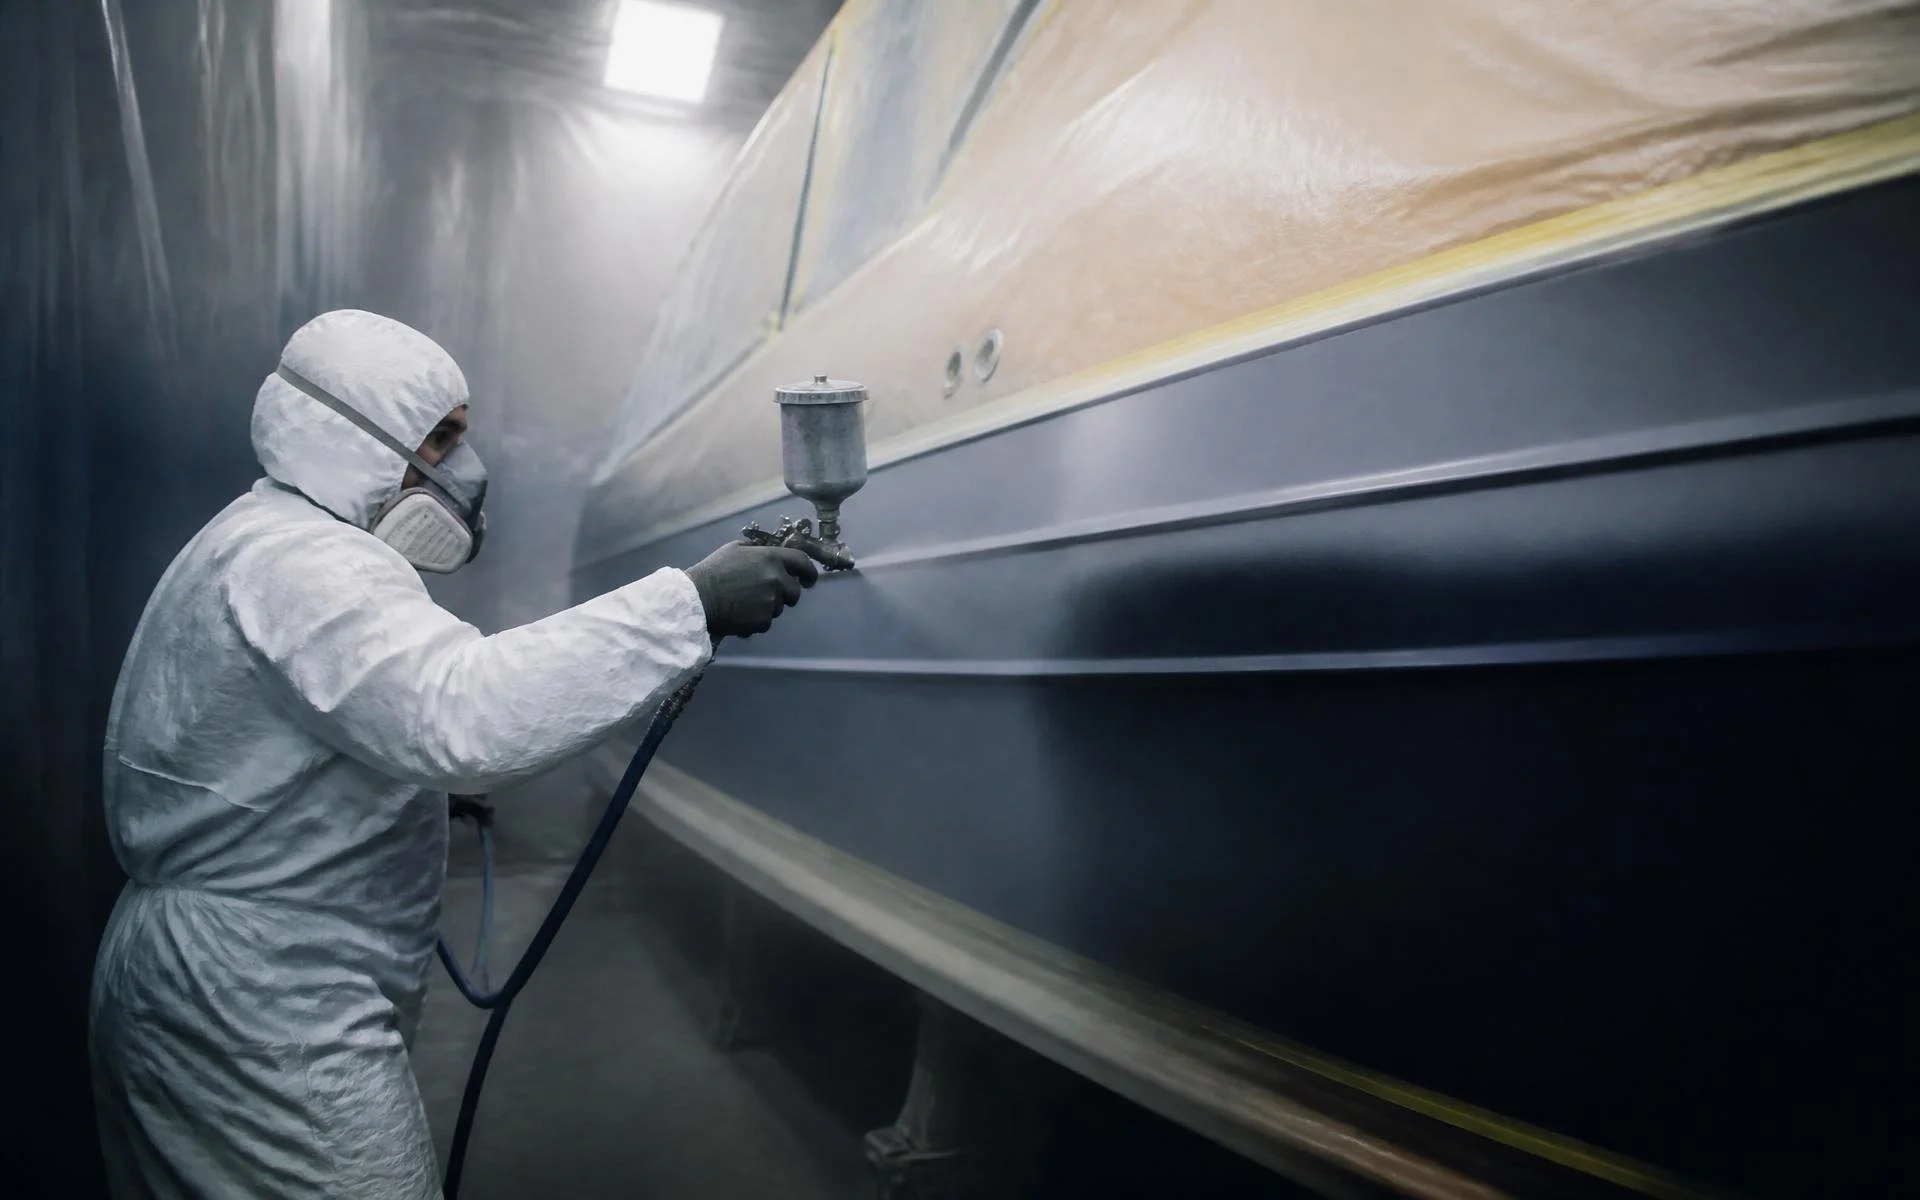
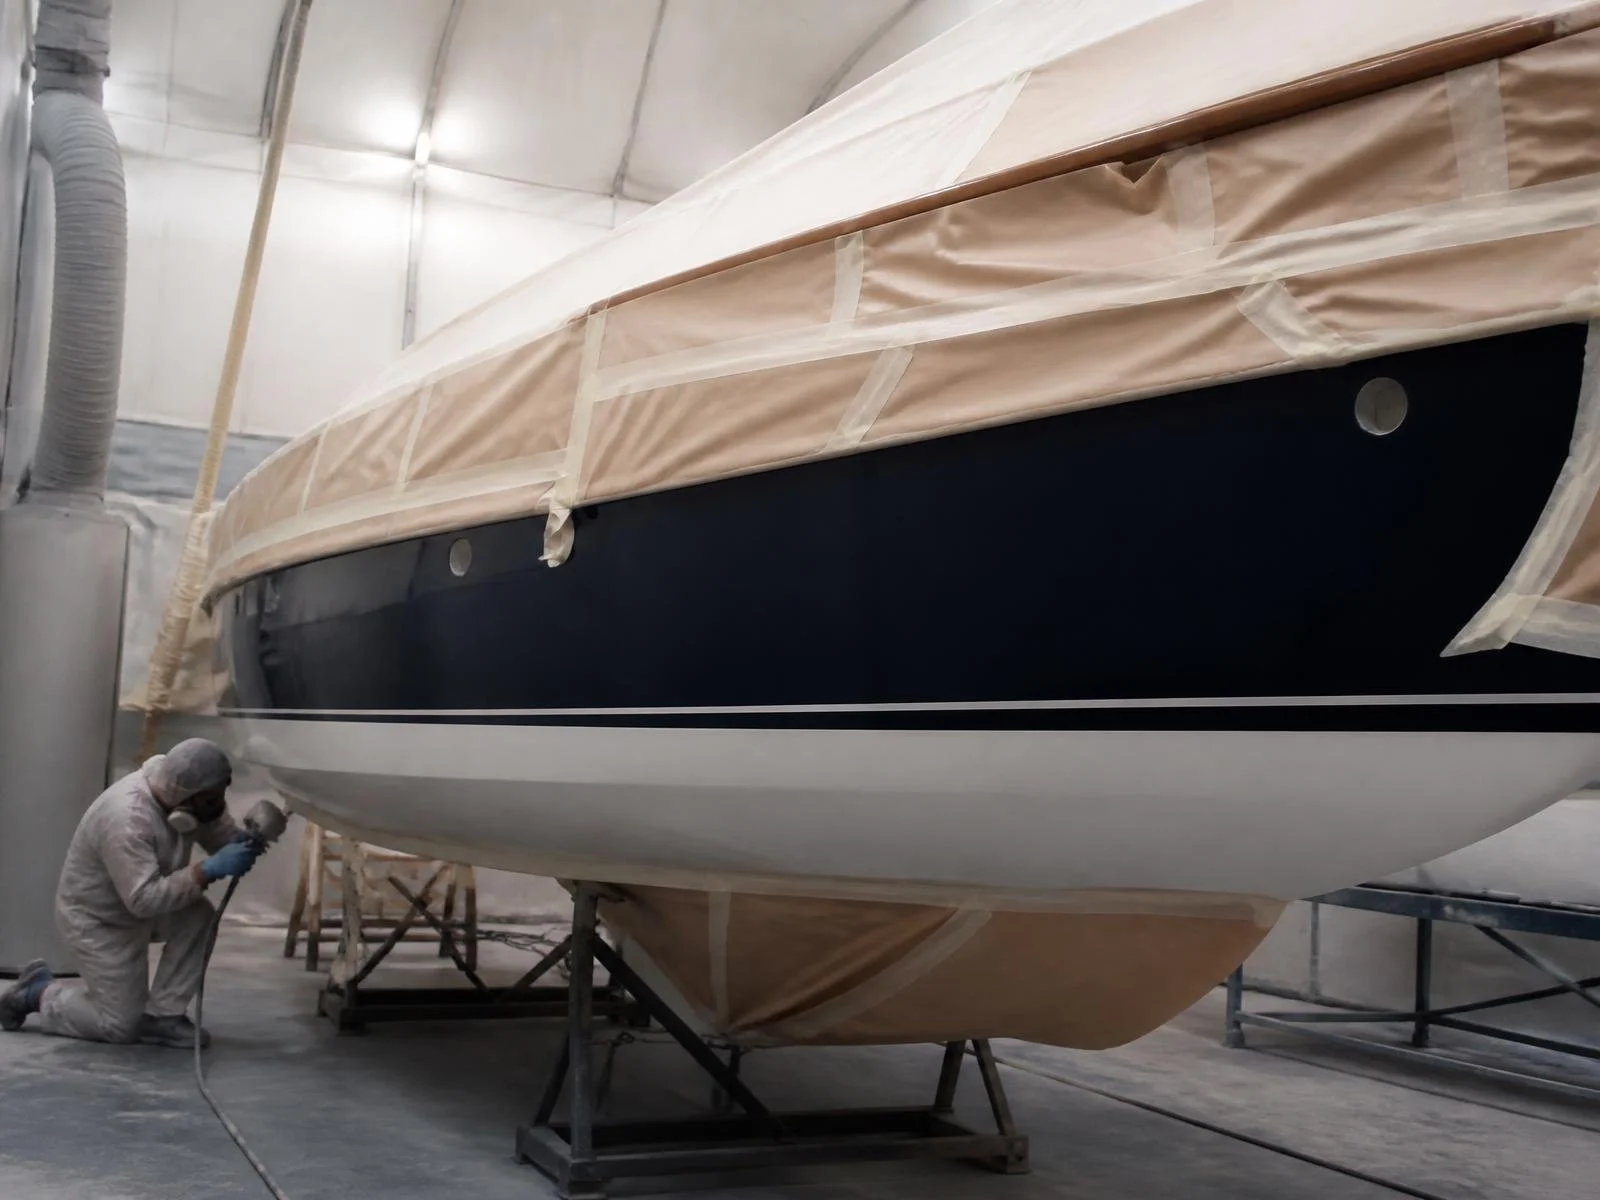
Only then does the vessel go into the spray bay. Topcoats and varnish are applied under cover with controlled light and filtration, cured properly, and recorded so the same system can be matched years down the track.
I. HOW A FINISH IS BUILT
01
04
05
Assessment & Substrate
Strip & Preparation
Fairing
Priming & Build Coats
Antifoul, Refit & Cure
Existing coatings are tested for adhesion and compatibility. We establish what can be overcoated and what must come off, and whether the substrate is timber, epoxy, composite or previously filled work.
Media blasting, sanding or chemical stripping back to sound material, moisture allowed to settle, then hardware removal and masking. Nothing is coated over damp timber or a failing layer beneath.
Long-boarded by hand in raking light until the curve reads true from every angle. Fairing compound is applied and cut back in successive passes — this is the stage that decides how the finished topsides look.
Epoxy primers and high-build undercoats rolled or sprayed, guide-coated and cut back between applications so the surface entering topcoat is genuinely flat.
Underwater coatings and antifoul applied, hardware and fittings refitted on fresh bedding, then a proper cure before the vessel is handled, relaunched and handed back.
SUBSTRATE TO CURE
02
03
Two-pack polyurethane topcoats sprayed in a dust-controlled bay, or traditional varnish built in successive coats to depth. Boot tops, cove lines and sheer stripes cut in by hand.
06
Topcoat & Varnish
II. COATING SYSTEMS
01
Two-pack polyurethane
Sprayed topsides and superstructure in a controlled bay: hard, durable and the standard finish for a vessel that has to hold its appearance in Queensland sun.
Built coat on coat over bright timber for brightwork, spars, coamings and interiors, cut back between coats and maintained on schedule thereafter.
03
Epoxy & barrier systems
Primers and barrier coats over timber and composite substrates, specified for moisture control and long-term adhesion rather than speed.
SPECIFIED TO THE VESSEL
02
Traditional varnish
04
Antifoul & underwater
Underwater preparation, anodes, boot tops and antifoul selected for how and where the vessel is berthed and used.
III. FINISHING BAY
A separate room, because dust does not respect a curtain.
Dust-controlled bay
Spray work is separated from the hull and joinery floors, with filtration and lighting set up for finish work rather than construction.
Under cover throughout
Preparation, coating and cure all happen inside. Humidity and dew never dictate the schedule or the standard.
Raking light
Fairing and cutting back are checked under low, angled light, because a finish is only as good as the surface hidden underneath it.
Recorded specification
Products, batch, film build and dates are written down and issued to the owner, so the next coat can be matched years later.
REPAIRS / RENEWALS
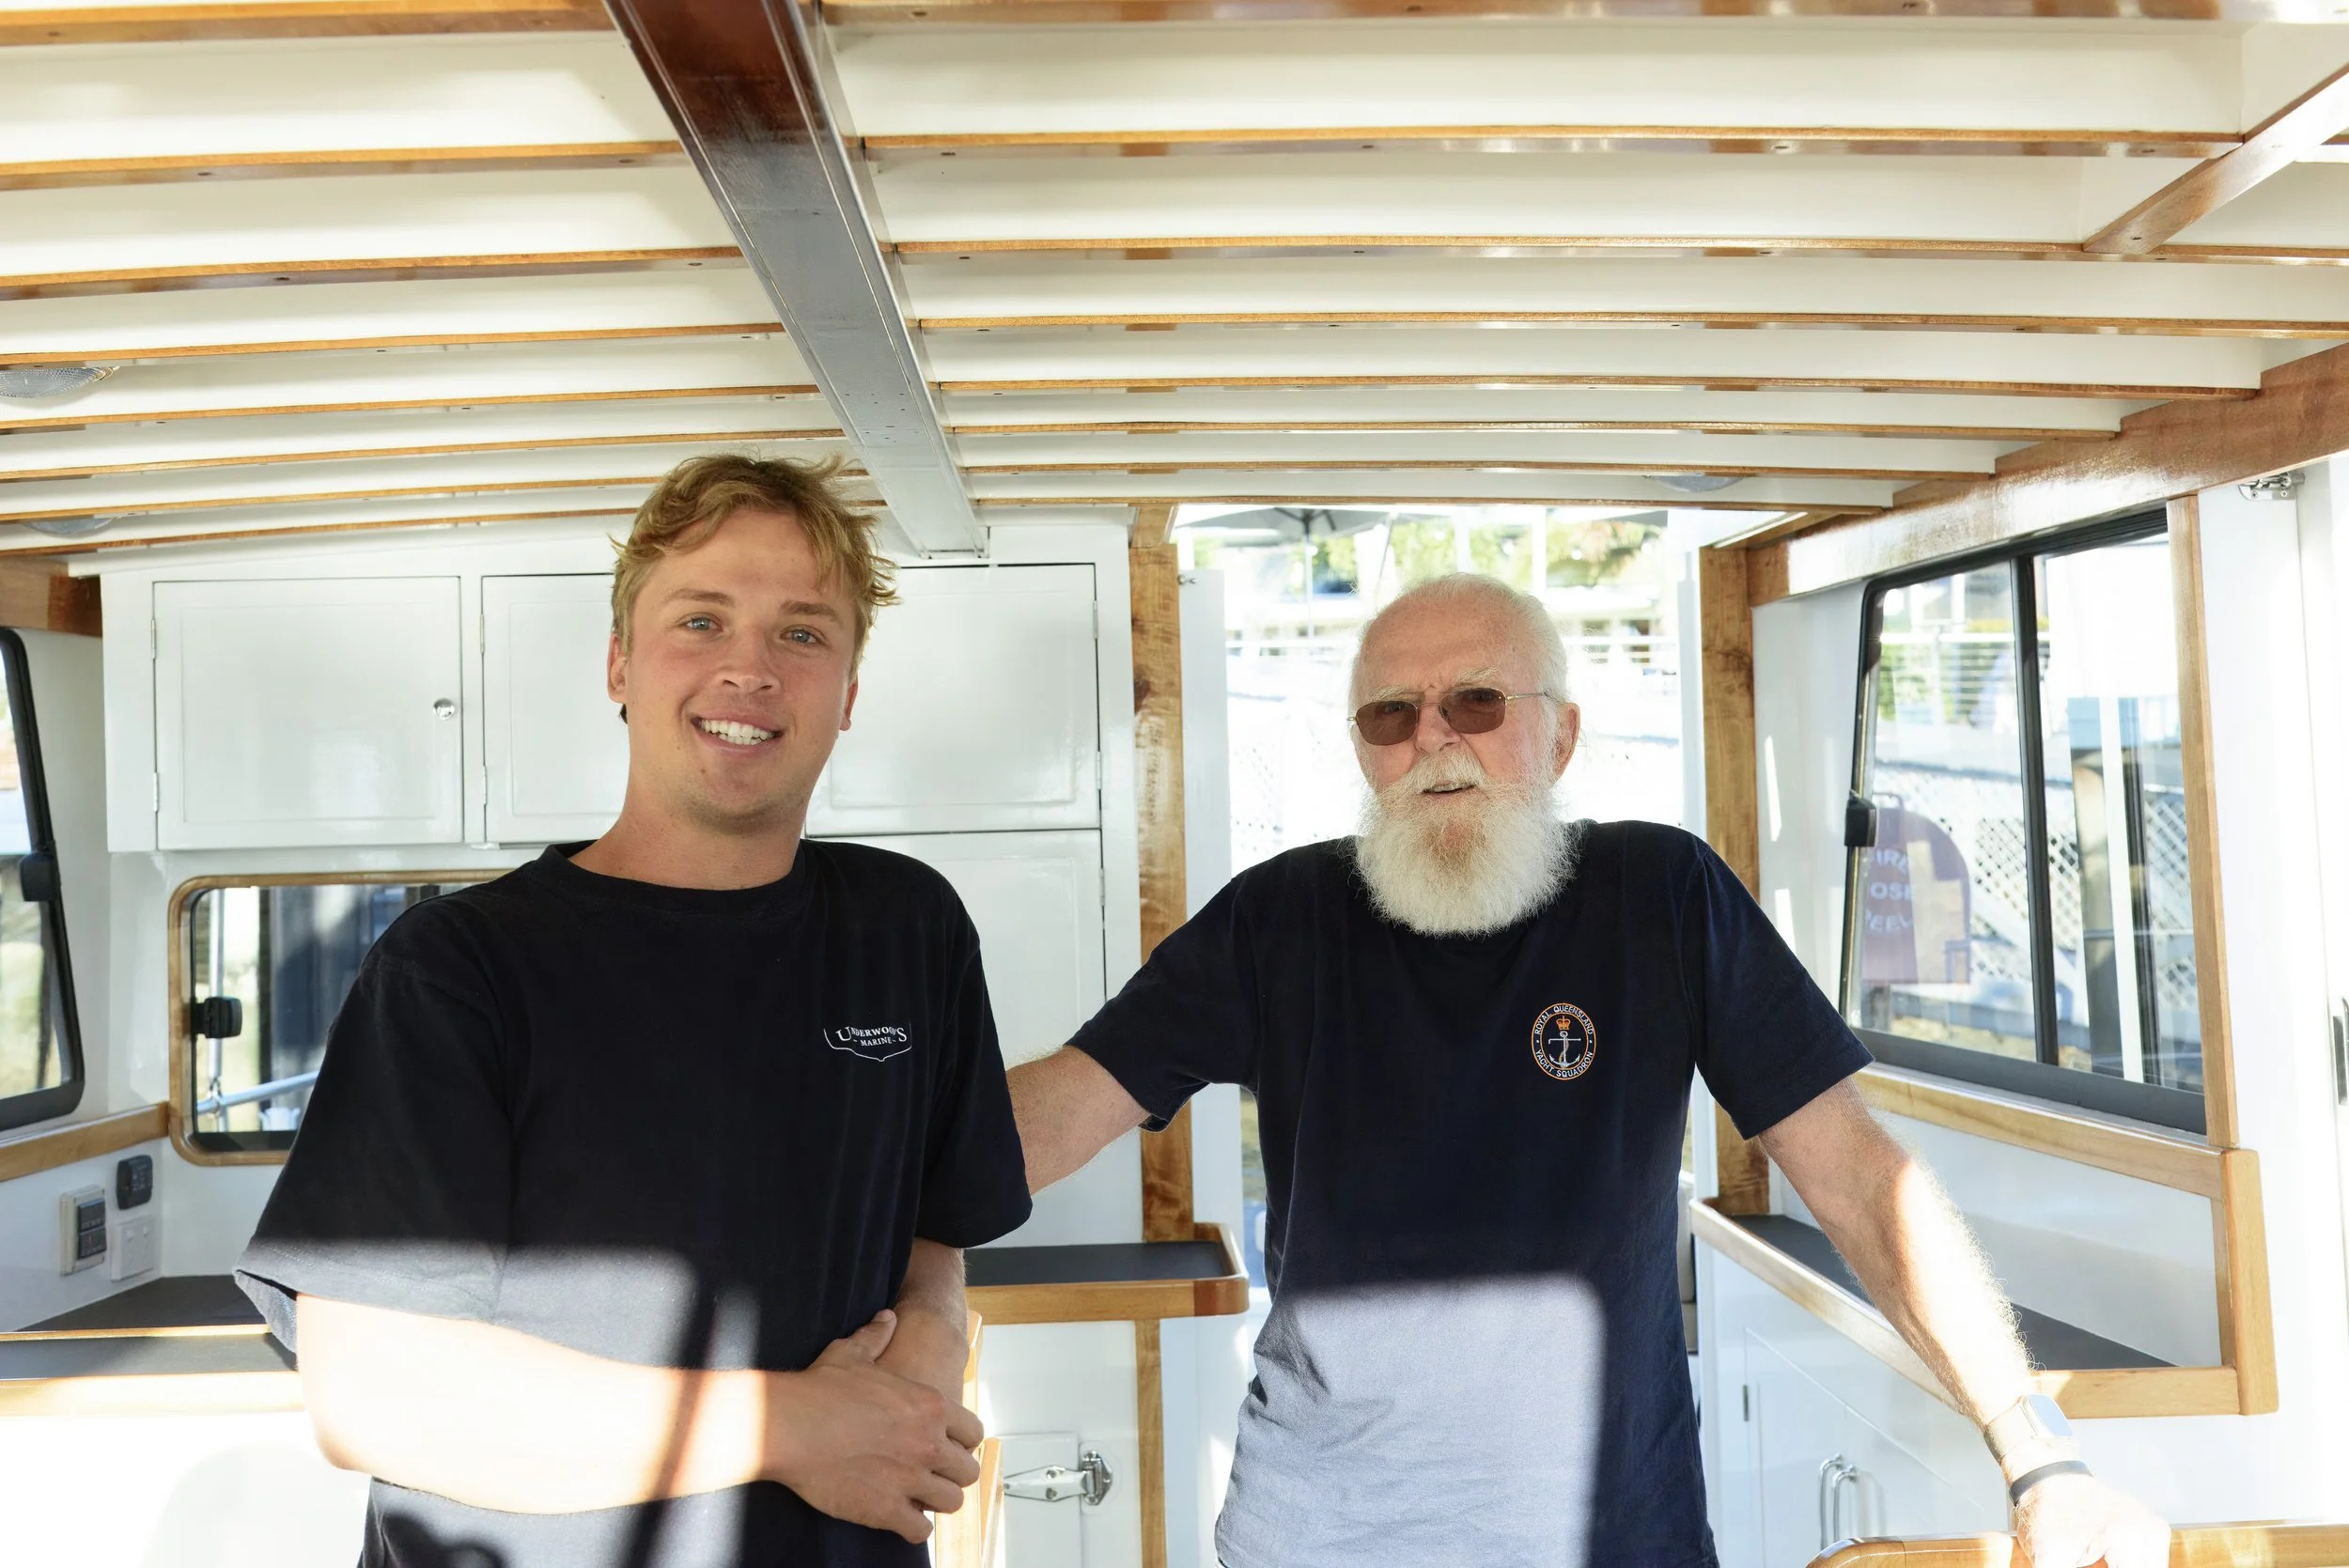
CYNINA — 1950 timber motor cruiser
A structurally restored hull taken through a full fitout: rebuilt galley, reconstructed helm with a custom pilot seat, drinks cabinet, new mast, internal painting and a repaint at Redland City Marina — a seventy-five year old cruiser returned to working order without losing her character.
IV. A REFIT IN PRACTICE
BAY CRUISER